How to Block Websites on Your Phone in 5 Easy Steps

In today’s digital age, our smartphones have become an integral part of our lives. However, they can also be a source of distraction and potential security risks. Website blocking on mobile devices can help you maintain focus, protect your privacy, and ensure a safer browsing experience. Here’s a step-by-step guide to blocking websites on your phone:
Step 1. Identify the Websites You Want to Block
To begin the process of blocking websites on your phone, the first step is to identify the specific sites you want to restrict access to. Start by making a list of websites that you find particularly distracting, time-wasting, or containing inappropriate content. These might include social media platforms, gaming sites, or any other online destinations that negatively impact your productivity or well-being.
Consider categorizing the websites based on their purpose or the reason for blocking them. For instance, you might group productivity killers separately from sites with inappropriate content. This categorization can help you make more informed decisions about which sites to block and when.
Remember that the goal is to create a healthier digital environment for yourself, so be honest about which websites are truly beneficial and which ones are hindering your personal or professional growth. By clearly identifying these websites, you’ll be better prepared to implement effective blocking measures and regain control over your online activities.
Step 2. Choose the Right Website Blocking Method for Your Phone
When it comes to blocking websites on your phone, there are several effective methods to choose from. Each approach has its own advantages, so it’s important to select the one that best suits your needs:
- Built-in Parental Controls: Many smartphones come with native parental control features that allow you to restrict access to specific websites. These are often easy to set up and don’t require additional downloads.
- Third-Party Apps: Numerous apps are available on both Android and iOS platforms that offer website blocking capabilities. These apps often provide more advanced features and customization options.
- Browser Extensions: If you primarily access the internet through a specific browser on your phone, consider using browser extensions designed for website blocking. These can be particularly useful for managing access across multiple devices.
- DNS Filtering: This method involves changing your phone’s DNS settings to filter out unwanted websites. It’s a more technical approach but can be highly effective and doesn’t require installing additional software.
- VPN Services: Some VPN services offer built-in website blocking features. This option not only helps block websites but also enhances your online privacy and security.
Consider factors such as ease of use, level of customization, and whether you need the blocking to apply across all apps or just browsers when making your choice. Remember, the most suitable method may vary depending on your specific requirements and technical comfort level.
Step 3. Set Up Website Blocking on Android Devices
Setting up website blocking on Android devices is an effective way to manage internet access and ensure a safer browsing experience. There are several methods to achieve this:
- Google Family Link: This free app allows parents to set up content filters and block specific websites on their child’s Android device. Simply install the app, create a family group, and manage restrictions remotely.
- Safe Browser apps: Dedicated apps like Mobicip or Norton Family offer built-in website blocking features along with other parental control options. These apps replace the default browser and provide a safer browsing environment.
- BlockSite app: This versatile app allows users to block websites, apps, and even set up work modes to boost productivity. It’s user-friendly and offers both free and premium versions.
- Android settings: Some Android devices have built-in website blocking features. Navigate to Settings > Digital Wellbeing & Parental Controls > Content Restrictions to access these options.
- DNS-level blocking: Advanced users can set up DNS-level blocking by changing the device’s DNS settings to a service like OpenDNS or CleanBrowsing.
Remember to choose the method that best suits your needs and technical expertise. Regularly review and update your blocked website list to maintain its effectiveness.
Step 4. Configure Website Blocking on iOS Devices
iOS devices offer several built-in and third-party options for blocking websites. To get started, navigate to your device’s Settings and follow these steps:
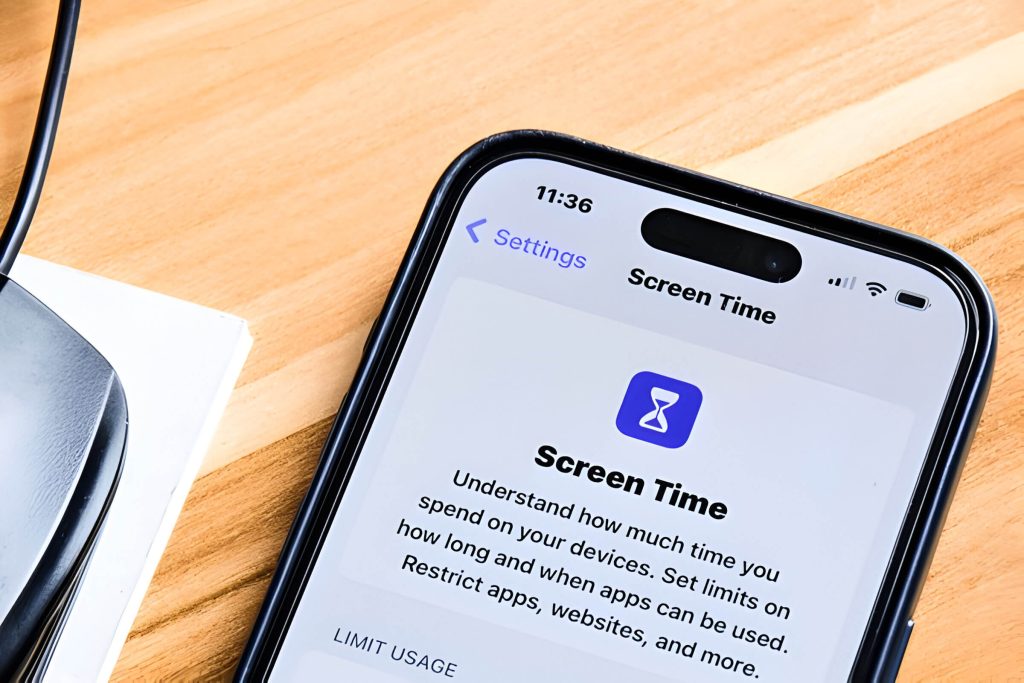
- Screen Time: Enable Screen Time and access Content & Privacy Restrictions. Here, you can set up web content limitations and create a list of specific websites to block.
- Safari Content Blocker: Install a content blocker app from the App Store, then activate it in Safari settings. This method is effective for blocking ads and certain types of content.
- Freedom App: Download the Freedom app for a more comprehensive website blocking solution. It allows you to create custom blocklists and schedules across all your iOS devices.
- DNS Settings: For advanced users, changing your device’s DNS settings can block access to specific websites at the network level.
Remember to set up a passcode for your restrictions to prevent unauthorized changes. By implementing these measures, you can effectively control website access on your iOS device, promoting a safer and more productive browsing experience.
Step 5. Test and Adjust Your Website Blocking Settings
After implementing your website blocking settings, it’s crucial to test and adjust them to ensure they’re working as intended. Begin by attempting to access blocked websites from various devices and browsers to verify the effectiveness of your restrictions. If you encounter any issues, double-check your configuration and make necessary adjustments.
Consider creating a whitelist for essential websites that should remain accessible, even during scheduled blocking periods. This can be particularly useful for educational or work-related sites that might otherwise be inadvertently blocked.
Experiment with different scheduling options to find the right balance between productivity and flexibility. You may want to set stricter blocks during work hours and relax them during leisure time. Many website blocking tools allow you to customize block messages, which can serve as helpful reminders of your goals or provide motivational quotes.
Regularly review and update your block lists to account for new distractions or changes in your online habits. Remember that website blocking is not a one-time setup; it requires ongoing maintenance and adjustment to remain effective in supporting your digital well-being and productivity goals.